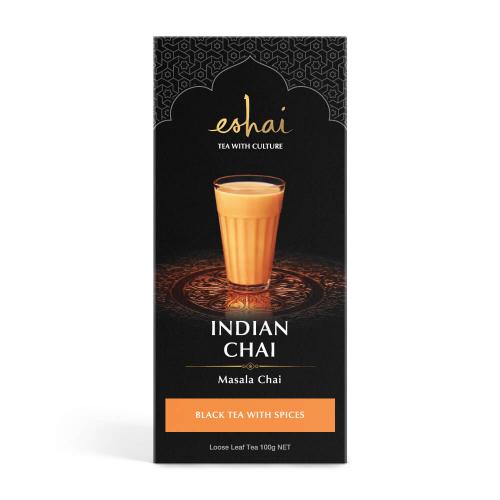
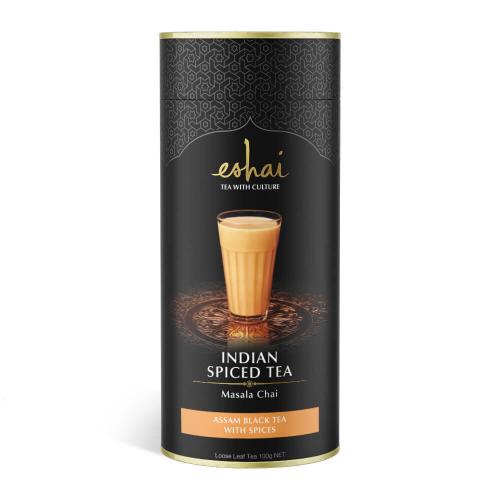
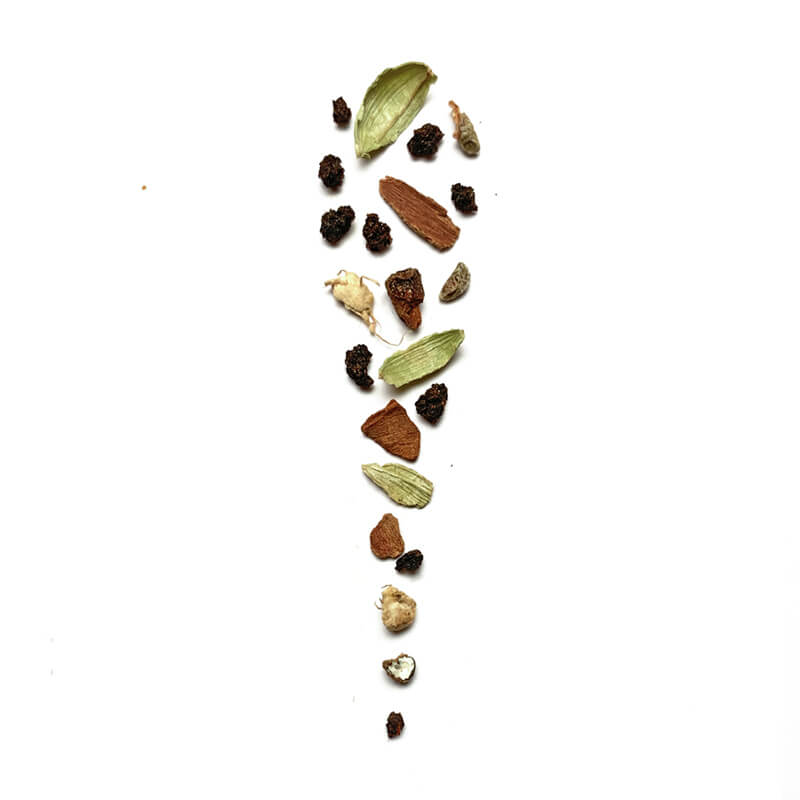
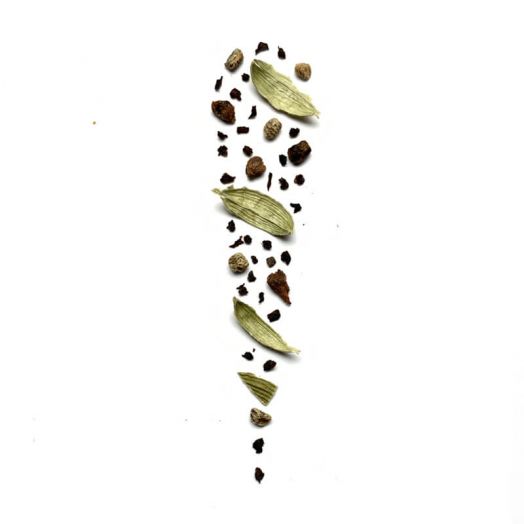
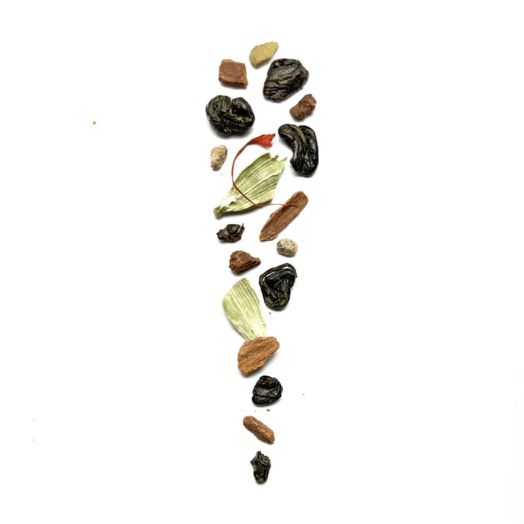
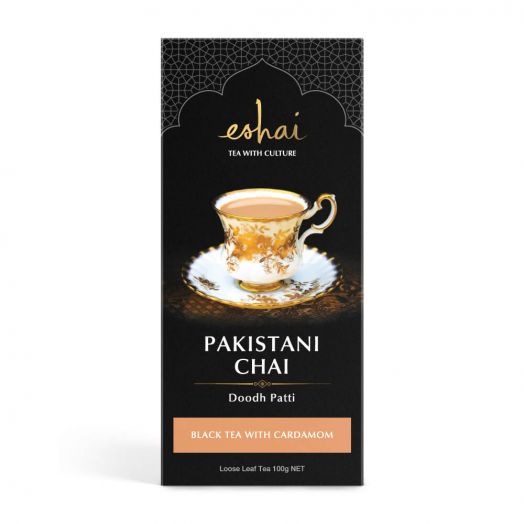
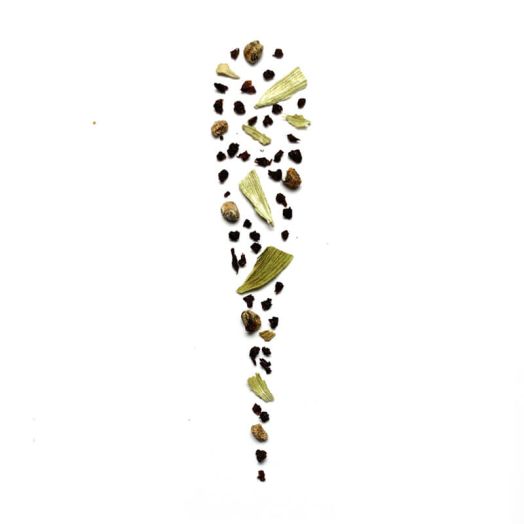
What’s In The Packet?
100% natural. no added flavours. organic ingredients. artisanal.
traditional recipe. hand-milled. hand-blended. hand-packaged
Feel
Soothed.
Invigorated.
Replenished.
Tastes
Silky.
Spiced.
Robust.
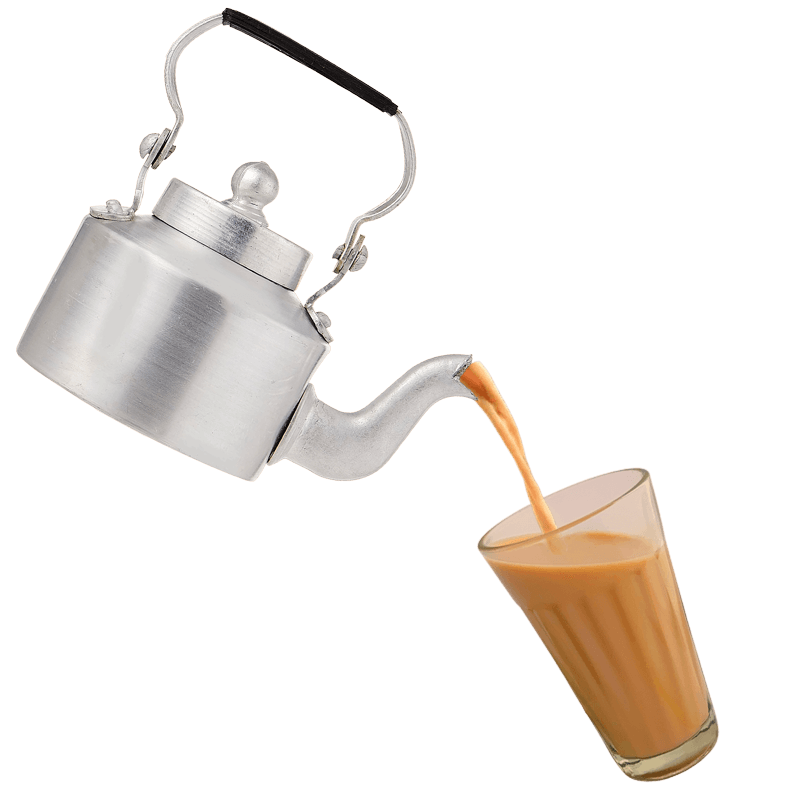
Silky smooth and milky with rich, harmoniously balanced spiced notes floating on a robust, malty base.
Experience It
Morning, Noon & Early Afternoon.
Hot or Iced. Milky & Sweet.
Solo or With Your Fav Treat.
Best Enjoyed
Straight from the stovetop, for a traditional Masala Chai experience. Put a fresh twist on the spiced goodness of Indian Chai by serving it over ice on hot days. If you’re a purist at heart, you can enjoy your chai in its natural state. If you want extra spiced warmth, brew it with fresh ginger. Either way, for a truly traditional treat, add your preferred milk and then either sugar, jaggery, or your favourite alternative sweetener to the brew. This delectable combination creates a silky-smooth experience that lifts the flavour of the spices to new heights.
Best Served
Street chai is traditionally served in glass chutes, steel cups if you’re in the south, and clay cups if you’re in the north or east. Locally known as kulhads, clay chai cups are usually broken and refired each day, which probably isn’t practical in your home! Thankfully, you can find decorative reusable kulhads for use at home! You can also impress guests with traditional steel cups or decorative porcelain cups. Your finest china or favourite teacups will also work a charm. In winter, Masala Chai’s warming energy can be made even cosier by serving it in that one special mug you love most.
Pairs With
While chai is a treat on its own, it pairs wonderfully with the famous street foods of India. Look for spiced crispy snack mixes like Bombay mix and masal bhel (puffed rice mix) in your local Indian grocer. Home-made favourites include deep-fried samosas, pakora, and sandwiches with fillings like chaat masala, cucumber, onion, and coriander chutney. Chai is rarely enjoyed with sweets in India, but the nation is famous for delights such as fudge-like burfee, sugar-soaked deep-fried dough spirals, jalebi, and gulab jamun (sugar-soaked, fried dough-balls), all of which are a heavenly accompaniment for tea. If you can’t find any of these traditional treats, Masala Chai is divine with Parley-G bikkies or your favourite tea time snack.
Tea Time
Masala Chai sets the rhythm of life in India. No matter the time or season, chai wallas are always ready to share the magic of tea with you. While the locals enjoy chai all day through, evenings are only for those who love a late-night buzz.
Caffeine Level
High
For a shot of vitality
Taste Strength
Strong
For a punch of lively flavour
Known For
Energy Renewal. Digestion. Immunity
Brewing Guide
Need your chai fix now? These simple steps will get you a quick but beautiful brew!
-
Leaf
1 – 2 tsp
-
Liquid
125 ml water
125 ml milk -
Method
Stovetop brew
-
Temp
Rolling boil
-
Time
2 – 3 min
How to Brew the Simple Way
To Make 1 Cup:
- 1
Add ½ cup (125 ml / 4.25 fl oz) of water and ½ cup of milk to a saucepan.
- 2
Add 1 – 2 tsp of tea.
- 3
Bring to a boil.
- 4
Reduce heat and gently simmer uncovered for 2 – 3 min.
- 5
Stir occasionally.
- 6
Strain into cup.
- 7
Enjoy pure or sweeten to taste.
This Brewing Guide details how we recommend brewing your chai. But taste is a very personal thing, and we all have our own quirks and preferences. So feel free to experiment and have fun finding your tea brewing groove! You can then refer back to this Brewing Guide anytime you want a refresher on the best tools to use, the ideal brewing method, the magic leaf-to-liquid ratio, and the perfect water temperature and brewing time.
Ignite the full spectrum of flavours by brewing your Indian Chai the traditional way
How to Brew the Traditional Indian Way
Elevate your Indian Chai, using the double boil method to coax out maximum flavour in a creamy cascade of comforting spiced goodness.
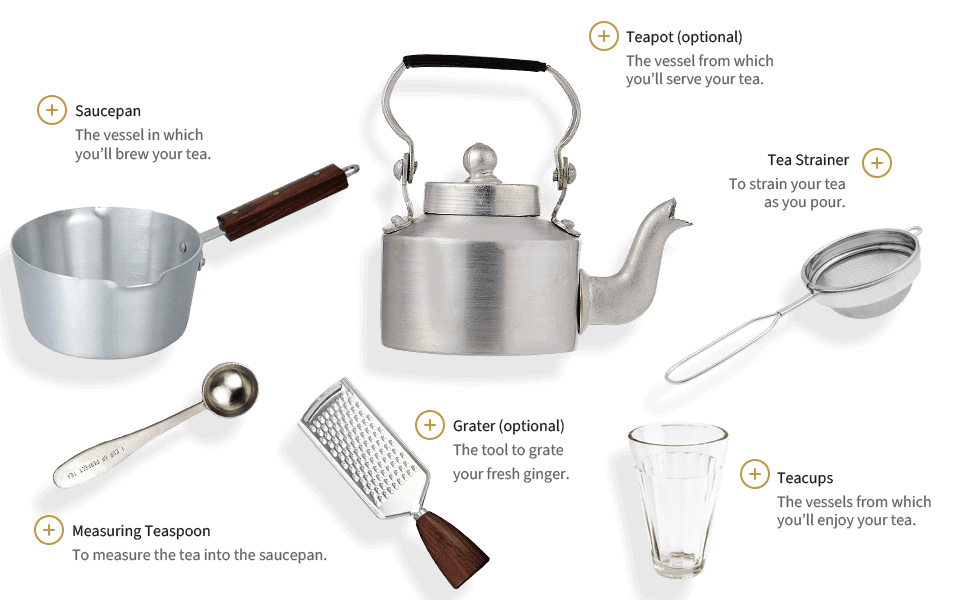
Tea Tools
All the specialised utensils you’ll need for the traditional brew:
-
Measure
Depending on how strong you like your brew, you will need 1 – 2 tsp of tea per cup (250 ml / 8.5 fl oz) of chai. For best results, use freshly drawn ambient filtered water.
Traditional Indian Chai (Masala Chai) is brewed in milk and water. A classic ratio for water to milk is 1:1, so if you’re making 1 cup of chai, you will need ½ cup (125 ml / 4.25 fl oz) of water and ½ cup milk. You’ll also need 1 extra tbsp of water per cup to account for evaporation.
Tip: The size of your saucepan matters! Choose one that’s a good fit for the number of servings you wish to prepare. This helps you maintain the perfect leaf-to water ratio while avoiding excessive evaporation.
You’re free to use any dairy or plant-based milk that works for you. However, please note the thickness of your chai will also change depending on the type of milk used (i.e. full milk, skim milk, soy, coconut, oat or nut milk, etc.) Use the table below as a guide on how to achieve a beautiful, creamy chai with your favourite milk type. As a general rule, you can expect a creamer chai if you add more milk and less water.
Milk Type Milk Water Full Cream Milk ½ cup ½ cup Skim Milk 1 cup 0 Soy Milk ½ cup ½ cup Oat Milk ½ cup ½ cup Coconut Milk 2/5 cup 3/5 cup Almond Milk 3/5 cup 2/5 cup -
Brew
Pour enough water into your saucepan to brew your chai, adding a tablespoon extra per cup for evaporation. Use medium heat to bring it to a rolling boil. Next, scoop in the tea. If you’d like your brew to have an extra spiced kick, add ½ – 1 tsp of fresh ginger per cup (crushed in the mortar and pestle or grated). Tip: the more ginger you add, the more spiced the chai will taste, resulting in that warm tingle ginger lovers adore!
If sweetening with sugar or traditional jaggery, add it at this point so it can simmer with the chai and create greater depths of flavour. Adding sugar mid-brew allows for better flavour integration and potential caramelisation, creating a balanced cup of rich, spiced deliciousness.
Note: Commonly referred to as ghur or gur, jaggery is a cherished form of unrefined sugar that holds a special place in South and Southeast Asian culinary traditions. Crafted from simmered sugarcane juice or palm sap, it’s a nutrient-rich sweetener that surpasses refined sugar in nutritional value. Its unique, caramel warmth infuses a delightful richness into tea.
Reduce the heat and gently simmer uncovered for 2 – 3 min or until the aroma of the spices fills the air.
Tip: Here's a little tea alchemy for ginger lovers: always boil your chai and fresh ginger in water before adding the milk. Ginger has a protease enzyme known as zingibain which can cause milk to curdle. However, that enzyme denatures at temperatures above 60°C (140°F), so by bringing your chai ingredients to a boil before adding the milk, you'll prevent your brew from curdling.
Add the milk, stir and allow the brew to again reach a boil on medium heat until the chai starts to bubble and rise. Watch the chai closely, and when it starts to rise and reach the top of the pan, turn down the heat or lift the pan off the stove before it overflows. The chai should quickly come back down. Some of the ingredients will get trapped in the frothy milk at the top and on the sides of the pan. This is perfectly normal. Just give it a quick stir and scrape the sides to settle the chai and reincorporate the ingredients back into the brew.
Note: If you’re using an electric stovetop that takes time to adjust when you change the temperature, you’ll need to remove the pan from the heat when the chai rises. You may also need to hold it above the heat or set it aside on a heat-proof surface until the stove’s temperature adjusts down to the perfect simmering level.
Reduce the heat (if you haven’t already) and continue simmering for 1 – 3 min. Stir occasionally to aerate the chai and prevent it from sticking to the bottom of the saucepan and burning.
Tip: To complete the traditional chai experience, use a ladle to stir the brew by "pulling” it a few times. As the name suggests, this involves lifting and pouring the tea back and forth into the pot. Pulling settles the chai, mixes the ingredients, and aerates the brew, delivering a smooth, rich, foamy, and delightfully creamy result.
Bring the heat back up to medium and allow the chai to come to a second boil. You’ve just achieved the double boil! Ensure you again watch the chai closely to take care not to overflow. Allow the brew to rise to the top of the pan and then either lower the heat or remove the pan from the burner. Give a quick stir so the chai can settle again. By this point, the chai should have developed a creamy brown colour.
-
Serve
Before pouring, check to see if a milk film has developed on the surface of your chai. This is a natural part of the chai making magic. The key is to stir it back in or use a ladle to pull the chai a few times, reincorporating the milk film back into the brew. This step has the added benefit of distributing flavour and further aerating the chai.
Whether you’re enjoying tea solo or with others you can pour directly into the teacups or transfer the brew to a teapot first. Either way, it’s best to strain it through a mesh strainer to prevent the tea leaves from flowing out. Using the back of a spoon, squeeze the tea leaves in the strainer to extract as much tea as possible.
To add a bit of froth to your chai, slowly and steadily elevate the saucepan or teapot high above the cups as you pour, creating a long, luxurious stream. This aerates the brew, producing a delightful creamy froth on the surface. If you see these lush bubbles form at the top of your cup, you’ve successfully aerated the tea in true Indian style. Now all you need to do is repeat this process for every cup, leaving some empty space at the top so they can be safely handled.
For an easier aerating option, use a ladle to pour tea into your cup. By holding the ladle high as you pour, you can create those dreamy creamy frothy bubbles. Just remember to pour the brew through a tea strainer.
Note: Pouring chai from a great height is a traditional practice used to add a touch of magic to the chai and the serving experience. The frothy texture is smooth and soothing, and the aeration traps aromatic compounds, intensifying the flavour and aroma. So, it’s worth developing your pouring skills!
If you didn’t add sugar to the brew, you can add it now, allowing everyone to sweeten their tea to taste. This is also the right time to add honey or any alternative sweetener.
Note for honey lovers: Always add honey to your chai after it has cooled slightly. Honey is beautifully soluble in slightly cooled tea. However, the heat from piping hot tea can tamper with its natural compounds, modifying its taste and diminishing its health benefits. So, for a more nourishing chai, remember to pause before pouring in honey!
-
Drink
Before taking your first sip, savour the aroma of the tea in the teacup to experience greater depths of flavour. The brew may be piping hot, so make your first sip small and take it slow, testing the temperature of the brew so that you don’t burn yourself. If drinking from a traditional handle-less cup, hold the rim with your thumb and index finger to observe the cultural practice and protect your fingers from burning. If you’re not in a rush, you can also let your brew cool for a while as you savour its comforting aroma, building up anticipation for that first satisfying sip.
Pressed for time but craving a traditional brew? Simmering your chai is the perfect method to extract a smooth, creamy, and fragrant cup of delight.
Tea Tools
All the specialised utensils you’ll need for the traditional brew:
-
Measure
Depending on how strong you like your brew, you will need 1 – 2 tsp of tea per cup (250 ml / 8.5 fl oz) of chai. For best results, use freshly drawn ambient filtered water.
Traditional Indian Chai (Masala Chai) is brewed in milk and water. A classic ratio for water to milk is 1:1, so if you’re making 1 cup of chai, you will need ½ cup (125 ml / 4.25 fl oz) of water and ½ cup milk. You’ll also need 1 extra tbsp of water per cup to account for evaporation.
Tip: The size of your saucepan matters! Choose one that’s a good fit for the number of servings you wish to prepare. This helps you maintain the perfect leaf-to water ratio while avoiding excessive evaporation.
You’re free to use any dairy or plant-based milk that works for you. However, please note the thickness of your chai will also change depending on the type of milk used (i.e. full milk, skim milk, soy, coconut, oat or nut milk, etc.) Use the table below as a guide on how to achieve a beautiful, creamy chai with your favourite milk type. As a general rule, you can expect a creamer chai if you add more milk and less water.
Milk Type Milk Water Full Cream Milk ½ cup ½ cup Skim Milk 1 cup 0 Soy Milk ½ cup ½ cup Oat Milk ½ cup ½ cup Coconut Milk 2/5 cup 3/5 cup Almond Milk 3/5 cup 2/5 cup -
Brew
Combine the water, milk, and the tea in your saucepan, including a tablespoon of extra water per cup to account for evaporation. If you’d like your brew to have an extra spiced kick, add ½ – 1 tsp of fresh ginger per cup (crushed in the mortar and pestle or grated). Tip: the more ginger you add, the more spiced the chai will taste, resulting in that warm tingle ginger lovers seek!
Important Note: Ginger has an enzyme called zingibain that can cause milk to curdle. If you’re a ginger enthusiast and find your choice of milk curdling when brewing chai, consider The Double Boil Method. This technique ensures the zingibain enzyme, which denatures above 60°C (140°F), is neutralised, allowing you to enjoy your ginger-infused chai without any curdling.
If sweetening with sugar or traditional jaggery, add it at this point so it can simmer with the chai and create greater depths of flavour. Slipping sugar in mid-brew allows for better flavour integration and potential caramelisation, creating a balanced cup of rich, spiced deliciousness.
Note: Commonly referred to as ghur or gur, jaggery is a cherished form of unrefined sugar that holds a special place in South and Southeast Asian culinary traditions. Crafted from simmered sugarcane juice or palm sap, it’s a nutrient-rich sweetener that surpasses refined sugar in nutritional value. Its unique, caramel warmth infuses a delightful richness into tea.
Bring to a boil in your saucepan on medium heat until the chai starts to bubble and rise. Watch the chai closely, and when it starts to rise and reach the top of the pan, immediately turn down the heat or lift the pan off the stove before it overflows. The chai should quickly settle back down. Some of the ingredients will get stuck in the frothy milk at the top and sides of the pan. This is perfectly normal. Just give it a quick stir and scrape the sides to settle the chai and blend the ingredients back into the brew.
Note: If you’re using an electric stovetop that takes time to adjust when you change the temperature, you’ll need to remove the pan from the heat when the chai rises. You may also need to hold it above the heat or set it aside on a heat-proof surface until the stove’s temperature adjusts down to the perfect simmering level.
Reduce the heat (if you haven’t already) and gently simmer uncovered for 3 - 5 min, or until and the aroma of the spices fills the air and the chai develops a creamy brown colour. Tip: a nice simmer will have small bubbles coming up to the surface, but not large ones. Stir occasionally to aerate the chai and prevent it from sticking to the saucepan and burning.
Tip: For a traditional flair, use a ladle to stir by “pulling” the chai a few times. This involves lifting scoopfuls of tea from the pot and pouring them back in. Pulling settles the chai, blends the ingredients, and aerates the brew. Your reward will be a delightfully creamy froth, which is the texture sought by chai experts.
-
Serve
Before pouring, check to see if a milk film has developed on the surface of your chai. This is a natural part of the chai making magic. The key is to stir it back in or use a ladle to pull the chai a few times, reincorporating the milk film back into the brew. This step has the added benefit of distributing flavour and further aerating the chai.
Whether you’re enjoying tea solo or with others you can pour directly into the teacups or transfer the brew to a teapot first. Either way, it’s best to strain it through a mesh strainer to prevent the tea leaves from flowing out. Using the back of a spoon, squeeze the tea leaves in the strainer to extract as much tea as possible.
To add a bit of froth to your chai, slowly and steadily elevate the saucepan or teapot high above the cups as you pour, creating a long, luxurious stream. This aerates the brew, producing a delightful creamy froth on the surface. If you see these lush bubbles form at the top of your cup, you’ve successfully aerated the tea in true Indian style. Now all you need to do is repeat this process for every cup, leaving some empty space at the top so they can be safely handled.
For an easier aerating option, use a ladle to pour tea into your cup. By holding the ladle high as you pour, you can create those dreamy creamy frothy bubbles. Just remember to pour the brew through a tea strainer.
Note: Pouring chai from a great height is a traditional practice used to add a touch of magic to the chai and the serving experience. The frothy texture is smooth and soothing, and the aeration traps aromatic compounds, intensifying the flavour and aroma. So, it’s worth developing your pouring skills!
If you didn’t add sugar to the brew, you can add it now, allowing everyone to sweeten their tea to taste. This is also the right time to add honey or any alternative sweetener.
Note for honey lovers: Always add honey to your chai after it has cooled slightly. Honey is beautifully soluble in slightly cooled tea. However, the heat from piping hot tea can tamper with its natural compounds, modifying its taste and diminishing its health benefits. So, for a more nourishing chai, remember to pause before pouring in honey!
-
Drink
Before taking your first sip, savour the aroma of the tea in the teacup to experience greater depths of flavour. The brew may be piping hot, so make your first sip small and take it slow, testing the temperature of the brew so that you don’t burn yourself. If drinking from a traditional handle-less cup, hold the rim with your thumb and index finger to observe the cultural practice and protect your fingers from burning. If you’re not in a rush, you can also let your brew cool for a while as you savour its comforting aroma, building up anticipation for that first satisfying sip.
This Brewing Guide details how we recommend brewing your chai. But taste is a very personal thing, and we all have our own quirks and preferences. So feel free to experiment and have fun finding your tea brewing groove! You can then refer back to this Brewing Guide anytime you want a refresher on the best tools to use, the ideal brewing method, the magic leaf-to-liquid ratio, and the perfect water temperature and brewing time.
Thirsting for a cool escape? Discover a new side of your chai with an icy infusion!
How to Brew the Chilled-Out Way
To enjoy this tea iced, simply follow the Quick Brew steps, adjusting the leaf-to-liquid ratio based on the volume of your cup and on how strong you like your tea (see tip below). For an extra zing, add ½ – 1 tsp of grated fresh ginger per cup to the saucepan before brewing. After straining the tea into your cup, add any sweetener that takes your fancy, then cool uncovered until it reaches room temperature. The sweet, spiced notes of Indian Chai are delicious in their natural state. No need for garnishes – just serve chilled over ice.
Want to make a big batch of tea to fill a glass jug or pitcher?
In this case, it'll be easier to prepare a tea concentrate first. Follow the Quick Brew steps, adding the amount of leaf you'll need for the total volume of your jug or pitcher. But only add the water required for that amount of leaf to your saucepan. Don't add the milk yet. After straining the tea concentrate into your vessel and sweetening to taste, top it up with the required milk volume. No need to cool your tea – the cold milk will naturally do the job for you! Serve chilled over ice.

Tips
Hate the gritty aftertaste of poorly blended sweetener? Incorporating your sweetener while the brew is hot ensures it blends flawlessly, enriching your tea with a charming sweetness that harmonises perfectly and never overpowers the other flavours.
Ice is infamous for diluting drinks, but you can harness its power to water things down by brewing your tea a little stronger than you otherwise would. To get it just right, try doubling the tea leaf quantity provided under Quick Brew. You many need to experiment a little to find your perfect balance.
Keen to add more depth to your iced brew? Swap the Quick Brew method for a Traditional Brew. You'll have a few more steps to follow, but you’ll be rewarded with an even more flavourful and aromatic iced chai. Just remember you’ll still want to double your leaf!
This Brewing Guide details how we recommend brewing your chai. But taste is a very personal thing, and we all have our own quirks and preferences. So feel free to experiment and have fun finding your tea brewing groove! You can then refer back to this Brewing Guide anytime you want a refresher on the best tools to use, the ideal brewing method, the magic leaf-to-liquid ratio, and the perfect water temperature and brewing time.
Explore Brewing Alternatives
The Double Boil vs Simmering Method
Stovetop-brewed Masala Chai welcomes you into a wonderland of flavours achieved by simmering tea, spices, and milk. This deceptively simple method extracts the essence of each ingredient, creating a rich, creamy, and aromatic chai that’s unparalleled. Two traditional brewing techniques – double boiling or simmering – can be used to craft this delightful cuppa.
What is the Double Boil Method?
The Double Boil Method for brewing chai begins with boiling water. You then add the loose tea leaves and spices, allowing them to simmer into a rich, spiced brew. Only then will you introduce your milk of choice, allowing the simmering pot to boil again, settle, simmer, and rise to a boil a final time. Technically, you’re bringing your brew to a boil three times, but it’s the double boil of the milk that makes the magic, which is why it’s called the double boil method. This process of double boiling the brew after the milk has been added helps the chai flavours blend harmoniously, resulting in a rich, creamy, and aromatic chai.
What is the Simmering Method?
The Simmering Method involves adding all ingredients at the start, then slowly simmering until a balanced, flavourful brew emerges. While it allows flavours to blend, some tea lovers believe the separate simmering in the Double Boil Method gifts you with a more nuanced flavour profile. Both methods aim to enrich your cup with spiced deliciousness and incorporate milk into the brewing process, so feel free to experiment and find your favourite style.
Why Choose the Double Boil Method?
The Double Boil Method is ideal for tea lovers who have the time and desire to create a rich, creamy, and nuanced chai with subtle layers of flavour and aroma. It involves a few more steps and requires that you be more present with the pot as you’ll be bringing the brew to a boil three times total – once before you add the milk and twice after you add the milk. If you love tinkering with your tea and being deeply involved in the brewing process, you’ll adore the rich, creamy, and aromatic reward that’s waiting for you at the end of the Double Boil Method.
Why Choose the Simmering Method?
The Simmering Method is perfect for those seeking a smooth, creamy, and fragrant chai with the added benefit of simplicity and convenience. This straightforward method lets you throw all ingredients in at the start, making it a traditional but hassle-free brew. It’s a quick solution for busy mornings or instant chai cravings. The gentle simmer allows flavours to gradually infuse, resulting in a well-balanced and harmonious chai. Just like the Double Boil Method, it offers a unique flavour profile, but with less involvement and time. So, if you prefer a simple yet flavour-rich brew, the Simmering Method is your go-to!